The Magic Mirror: Design
Designing your Facade
|
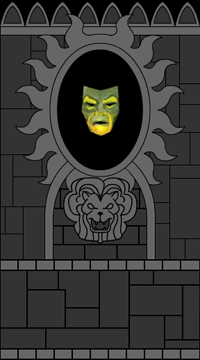
The first thing to do is sketch out on paper the design you want your facade to have. We went with a centerpiece 4' x 8' facade with two 2' x 8' "wings" on either side. Our sample centerpiece design can be seen at right, but you should of course come up with your own design, since your shelving unit may not be the same as ours. We recommend starting your design by measuring where the shelves in your shelving unit are (unless you plan on building a custom shelving unit to your design). That way, you know where your mirror's face will appear, where you can place supports, and where it is feasible for your puppeteer to sit and operate. We also recommend that you spend some time in the location where you will be displaying the facade. We discovered that a facade that is six feet tall would be ideal, and that a four foot wide facade with two 'wings' of two feet each would give enough room for a puppeteer if it were placed in a corner and each wing folding back slightly to touch each wall. Although doing it all on paper would be fine, we are more comfortable using a computer program to do our design work. We brought our measurements into Adobe Flash (any vector-drawing program will do) to do the actual design work. Try to consider where everything will be placed and how it will be attached. Be sure to read below about how we placed the lion's head and the basin. Make sure to work at a consistent scale as you design. |
 |
Transferring your Design onto the Materials
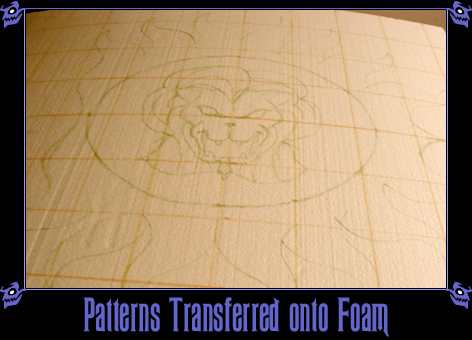
The next step is to transfer your design onto the materials. To do this, we printed out our design at a scale of one inch to one foot. We then drew a half-inch square grid on our plan using a ruler and pencil, and a half-foot square grid on the foam and MDF using a marker or chalk line. (The marker is easier, but the chalk line has is less likely to leave visible lines.)
Note: In the photos below, you will see that we used the white one-inch foam. We no longer recommend that you use this foam. We now use the quarter-inch, denser pink foam available from Home Depot and other outlets. The difference is that the quarter-inch foam is much sturdier than the one-inch "pebbly" foam. In our original design, we had to harden the foam using watered-down Durham's Water Putty, but with the sturdier pink foam, this is no longer necessary (unless you want the stonier texture).
Once you have both gridded off, you can transfer your design onto the foam and MDF by sketching in each square.
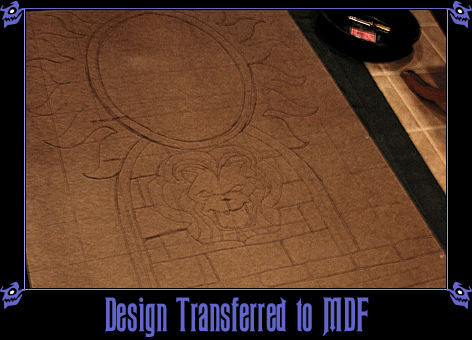
We ended up transferring the design onto two piece of MDF. The first one held the center panel, four feet wide. The second one held both of the side panels, each two feet wide.
In our design, we used multiple layers to give the facade depth. The mirror's frame and the lion's head were going to be raised, so we used another piece of foam for these details. (Since these were going to be cut out and attached to the base layer of foam, we could place these close together to save foam, as seen in the photo below.)